Based on the number of facial masks that I’ve posted on Live Simply, I think one may conclude that I have a soft-spot for homemade masks.
My love for masks started as a teenager. An outgoing teenager with “problem skin.” During my late teen years, my hormones decided to wage war against my oily skin. My once-clear skin went from being spotless and smooth, to bumpy, red, and scarred from breakouts. My solution was to try every store-bought acne face product possible, ranging from cheap drug-store solutions to outrageously expensive department store potions. Nothing helped, and yet I continued to spend dollar after dollar in hopes that something would turn my skin around.
It was during this time that I started getting facials. As a college-bound teenager, I couldn’t afford regular facial treatments, but I tried my best to treat my skin to the luxurious experience once a year. I told myself, Maybe a skincare expert can fix my skin!
It was at this time that I was introduced to the utterly relaxing and invigorating feel of a facial mask. If you’ve ever received a facial before, then you know that muds, creamy concoctions, and all sorts of mask-like products are applied to the face during an hour long session. It’s absolutely bliss! My skin always felt amazing afterward–at least for a few days. It was at this time that my obsession with facial masks began.
It was in my mid-twenties, as we were making major lifestyle changes, that I discovered just how easy it is to make facial masks at home–using easy-to-source, natural ingredients.
Homemade facial masks have become an absolutely essential part of my skincare routine, not only because they care for my skin and minimize breakouts, but also because they force me to do something for myself (#self-care). And we all know just how hard it can be to take time for yourself (#momlife). There’s something so relaxing and invigorating about making and applying a weekly facial mask–something that causes me to just stop and breathe for a few minutes.
In the past, we’ve chatted about a soothing clay mask for acne-prone skin, a detoxifying mask with charcoal, and oat-based cleansing grains–which may be used as a mask. And a few weeks ago, I shared seven unique ways to make a clay face mask. These recipes all share one common ingredient: clay.
Clay is an incredibly affordable, detoxifying option for making a homemade facial mask, but clay isn’t the only main ingredient option. There’s something else that may be used: fruit! That’s right, good ol’ edible fruit!

One of my favorite fruits to turn into a homemade mask this time of year is, the strawberry. February through April is considered strawberry season in Florida, so it’s easy to pick up a carton of strawberries for just a couple of dollars. I always try to save a few strawberries on the side, the extra squishy ones, for my weekly facial mask routine.
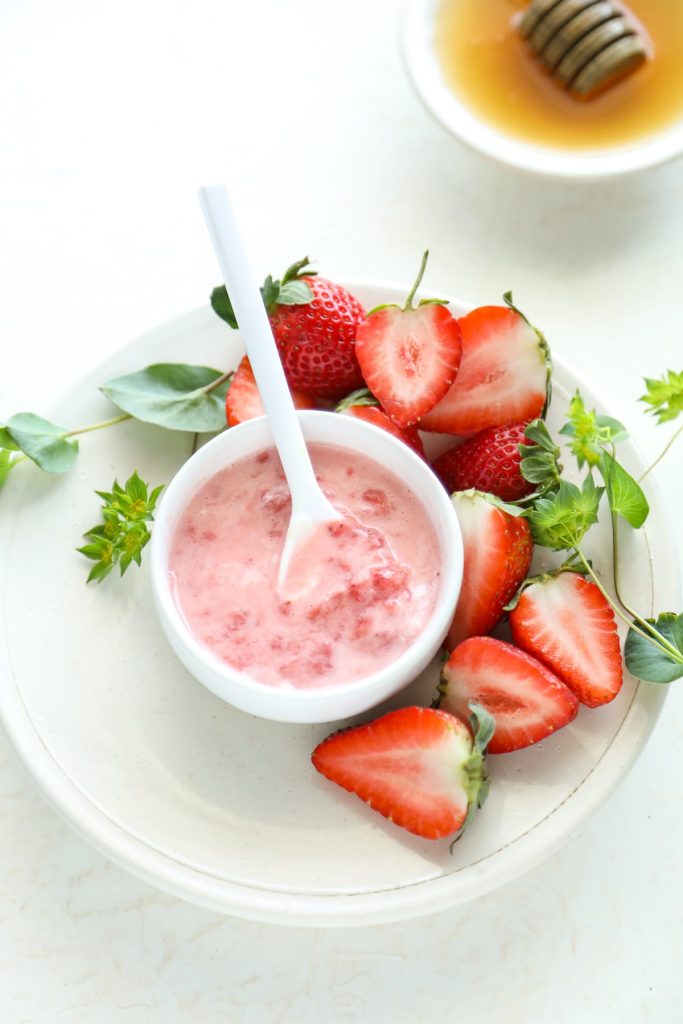
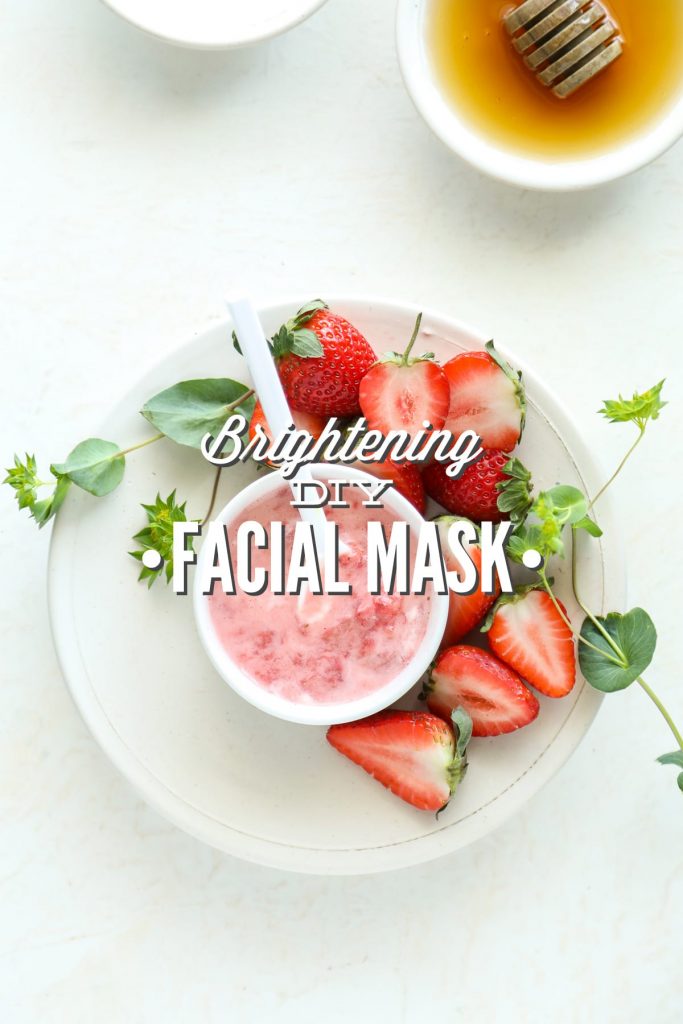
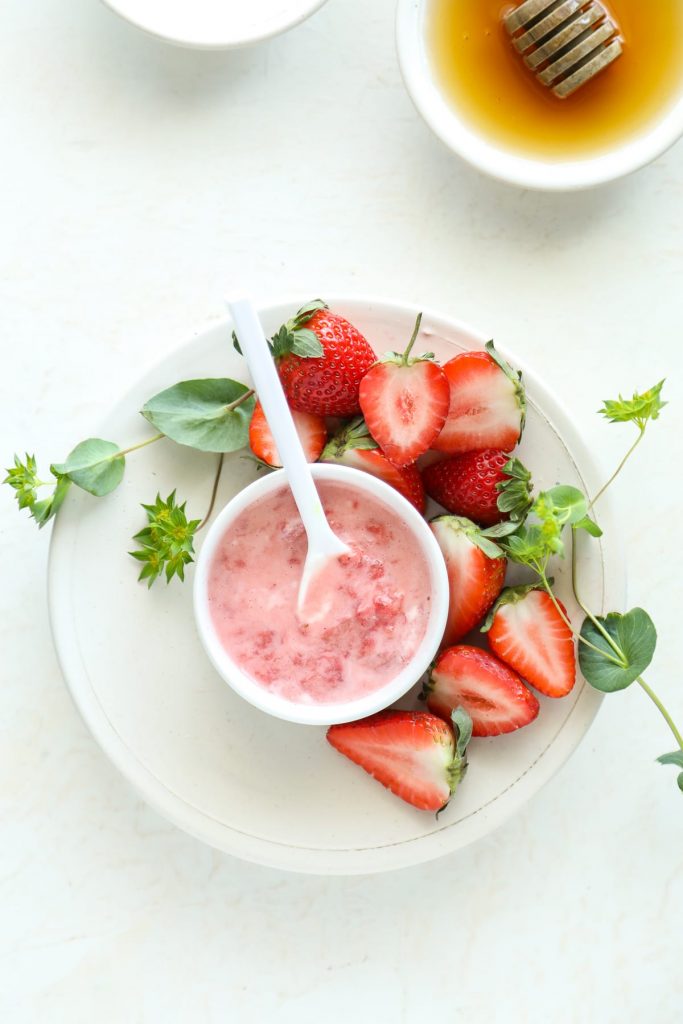
Strawberries naturally contain vitamin C, salicylic acid and alpha hydroxy acid–all of which may help to exfoliate, moisturize, and brighten the skin. I also like to add yogurt to the strawberries, since it’s rich in lactic acid–another alpha hydroxy acid. Finally, I add an ingredient that’s rich in both antibacterial and anti-inflammatory properties, honey.
This powerhouse trio has quickly become one of my favorite skincare masks. I absolutely love the way my skin looks and feels after using this strawberry mask, and I love how easy it is to source the ingredients. And the fact that I could eat this mask–if I happen to get hungry during my self-care time–is a huge plus ;).
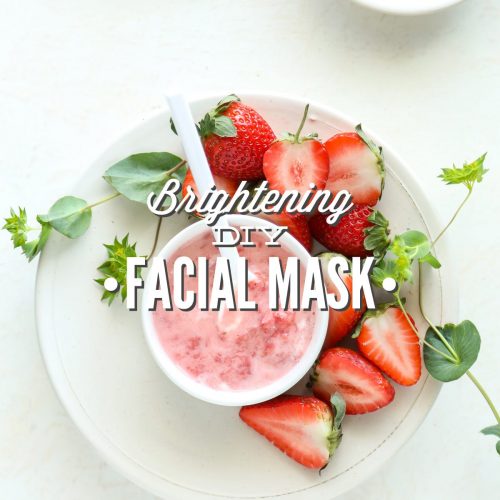
Strawberries and Yogurt Brightening DIY Facial Mask
Ingredients
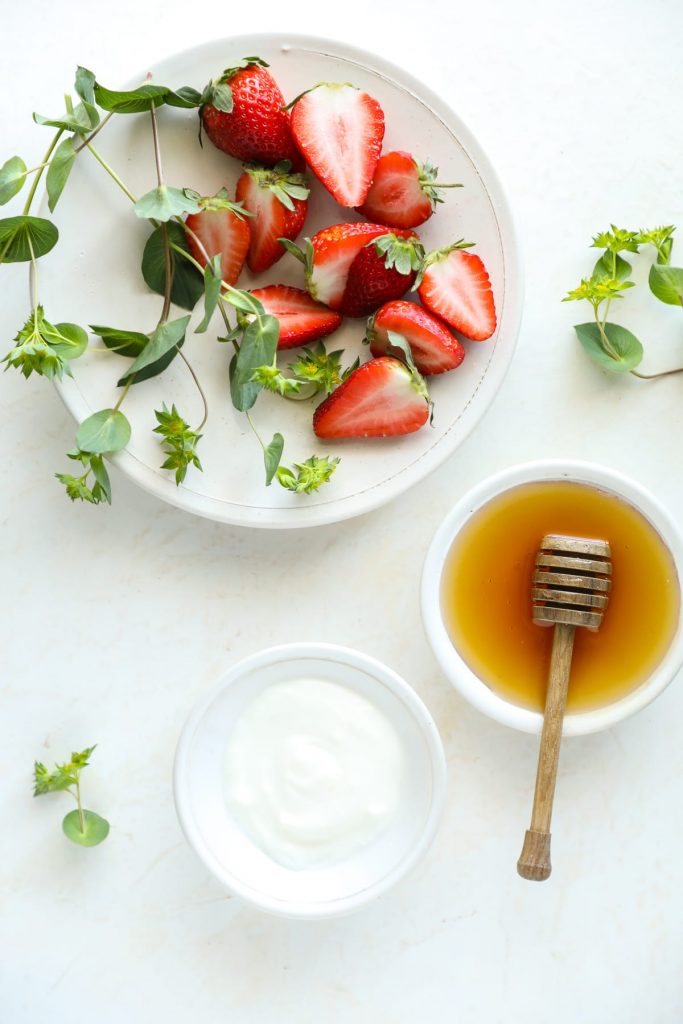
- 3 large strawberries preferably very ripe and juicy*
- 1 TB plain whole milk yogurt**
- 1 tsp honey preferably raw honey
Instructions
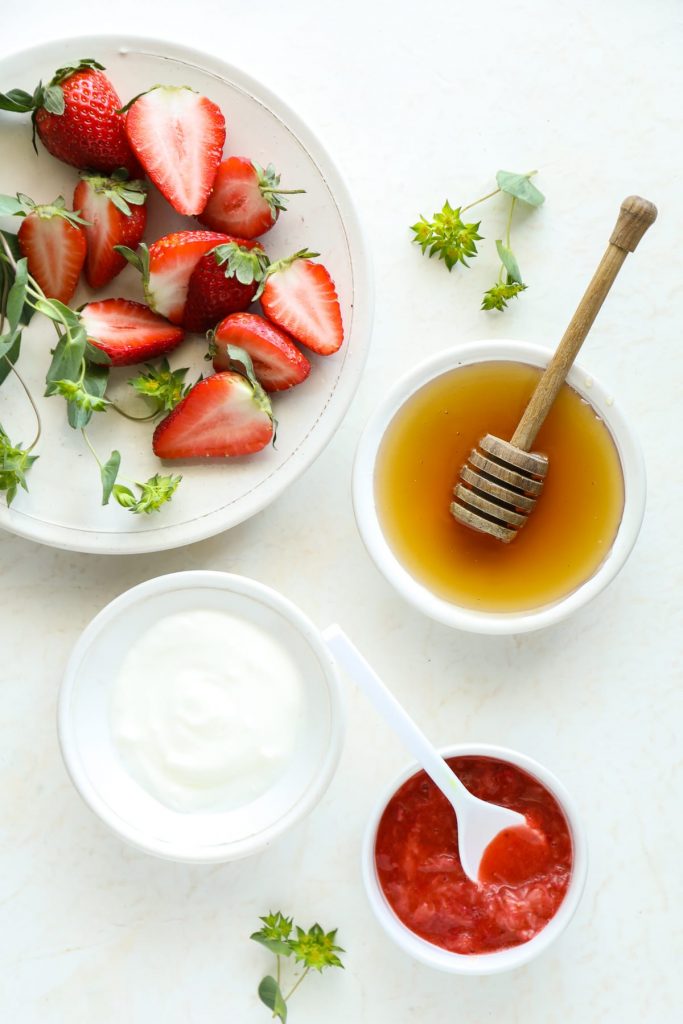
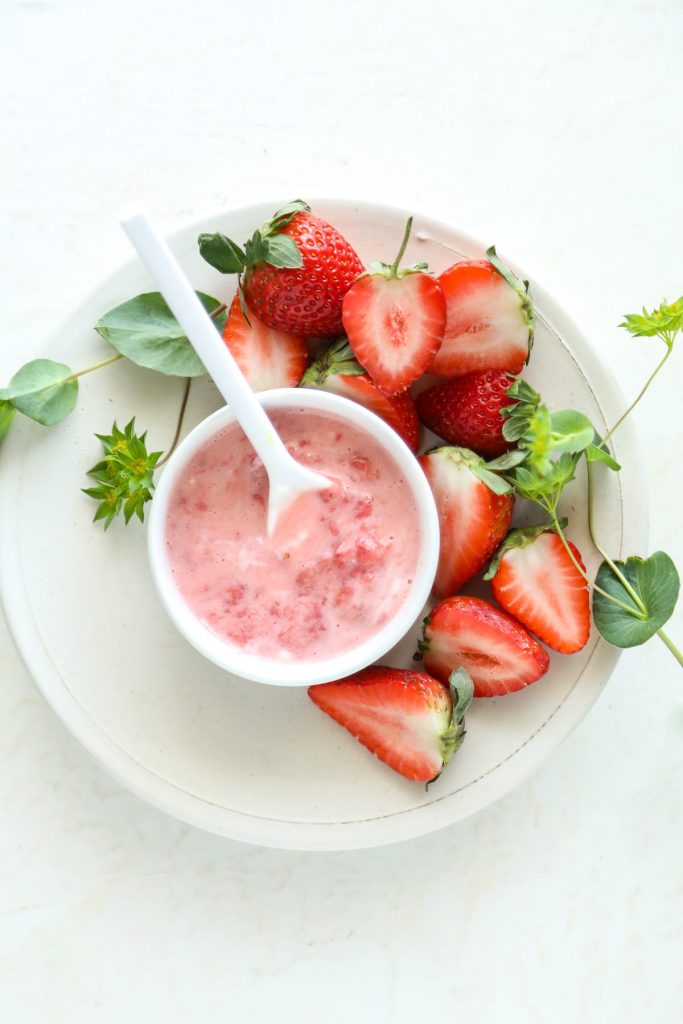
- Mash the strawberries with the back of a fork, or use a mortar and pestle, until the strawberries look like baby food.
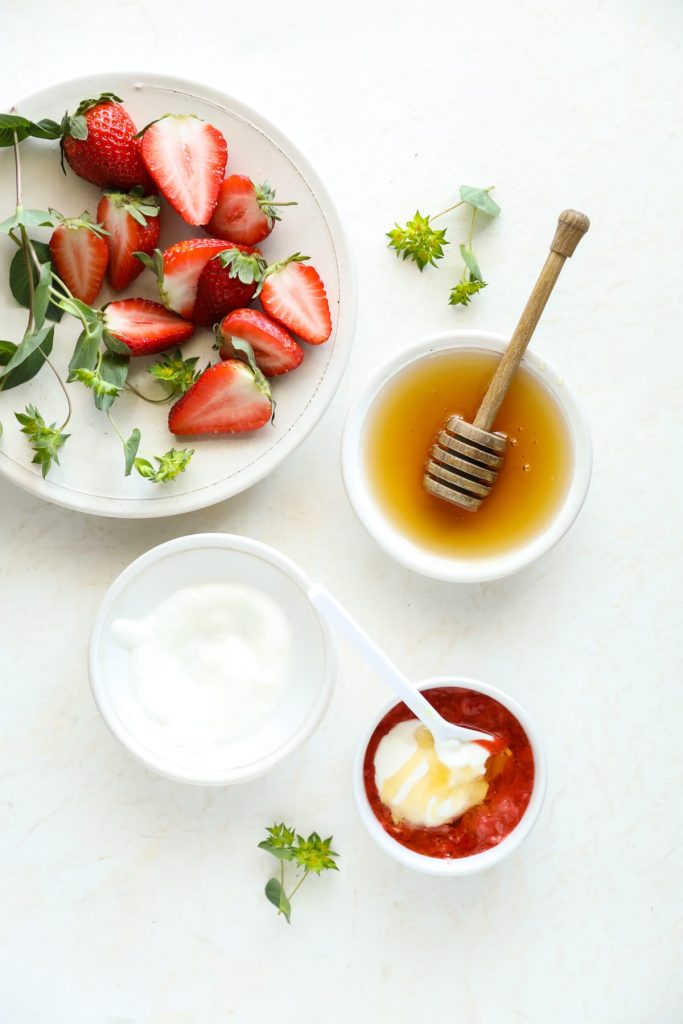
- Add the yogurt and honey to the mashed strawberries, and stir to combine.
To Use:
- Apply the mask to the face, and leave it on for 15 minutes before rinsing it off with warm water. This mask isn't thick like a clay mask, and it will feel very "wet" and runny when it's first applied. After a few minutes, the mask will dry on the face and turn a darker shade of pink--this is normal. From my experience, this mask is gentle enough to use daily, if desired.
- The mask will keep in the fridge for a week, in an air-tight container. I let the mask rest at room temperature for about 15 minutes before applying it to my skin so it's not super cold--this is just a personal preference. This mask may also be frozen in ice cube trays and defrosted in the fridge before you're ready to use it.
I really love your idea so much. By the way, Could you tell me the app which you used to edit the photo, please?
Hi Huyen,
Kristin uses Lightroom to edit photos.
Ls Team.
I love this ! I have one question how much yogurt honey !?
Love this mask! Sounds delicious and who doesn’t like to brighten their complexion.
Check out my recent post on a DiY facial steam: http://ohsodeco.com/2017/04/04/lavender-steam/
Thank you, Nicole.
This looks beautiful and invigorating!
Thank you, Kristy. It feels so lovely.
This looks great – I will be making it soon! Thanks, Kristin! 🙂
Thank you, TC! Enjoy!